DIY Succulent Roof Bird House
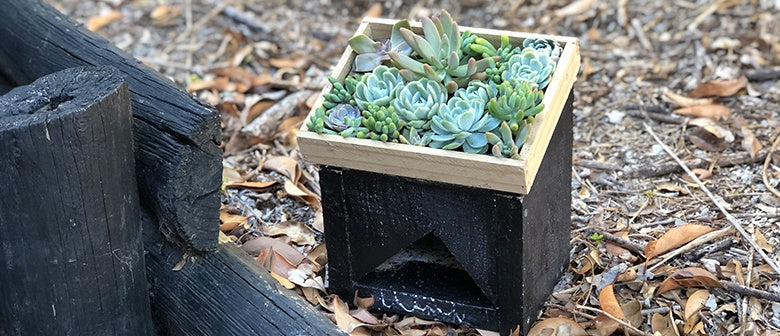
This DIY Succulent Roof Bird House is a fun project to create your feathered friends a house, with the added bonus of a stylish succulent roof.
You will need:
- 1 metre wood, 15cm wide
- 1/2 metre wood, 5cm wide
- Hand saw
- Hammer
- Nails
- Tape measure or ruler
- Paint (optional)
- Succulents and potting mix
Step 1
Starting at one end of the wood measure out 14cm, then 23cm from that mark, then 20cm from that mark, 15cm from that mark, 20cm from that mark and finally 15cm from that mark. On the other side of the board, measure 14cm, then 23cm, then 20cm from that mark, 15cm from that mark, 15cm from that mark and then 20cm from that mark (see below).
Step 2
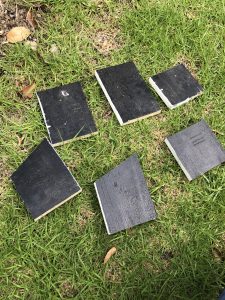
Rule lines to mark each section of the birdhouse and label accordingly – see below. Cut out your six pieces.
Step 3
Paint the pieces of your bird house in your desired colours
Step 4
Trim your front piece so it is 10cm wide. You will need to add a hole in it for the birds to enter through. If you have a circular drillbit, make a hole 4cm in diameter in the centre of the piece of wood. You can also draw a small triangle at the base of the front piece of wood.
Step 5
Starting with the bottom piece, nail it in to the non-diagonal part of the side pieces, so the diagonal pieces start to form the top of the bird house. Slide in the front board and affix with nails. Line up and nail the backboard in place. And finally, affix the roof of the bird house in place.
Step 6
Now it’s time to create your garden on top of the bird house. Measure around the outside perimeter of your roof, and mark on your thinner piece of wood the measurements and cut. We chose not to paint the garden surrounds, but if you wish to paint them, do so at this time. Once the paint is dry, affix to the roof of your bird house.
Step 7
Fill your roof garden with your potting soil and begin adding your succulents in your desired design.
Step 8
Find a safe place for your feathered friends to enjoy.


