Growing your own flowers and vegetables from seed can be fun, rewarding and economical too! Nurturing a plant from a tiny seed to a beautiful garden of blooms or a table full of fresh produce provides immense satisfaction for gardeners, however the benefits of growing from seed extend beyond the sense of achievement.
By growing from seed you control everything in your food supply chain from soil to fertiliser, and there’s no worrying about the pesticides that your produce may have been sprayed with. Plus, growing from seed provides you with a greater range of variety than being limited to what's in stock or in season.

Things you should know
- Seeds are living things and have a limited shelf life. How a seed is stored and how fresh it is, will determine its success. Packet seeds come sealed in a foil sachet, once the sachet is opened the seed is exposed to light, moisture and heat causing it to deteriorate, and should be used within six months.
- Seeds have basic requirements to germinate – water, warmth and sometimes light, although most seeds can germinate initially in the shade.
- Many plants have a better chance of success if started in seed raising trays or seed propagator houses. This allows you to control the temperature, moisture and light levels. Always use a specialised seed raising mix rather than garden soil, which can contain weeds, such as Tui Seed Raising Mix.
Sowing in trays
Any container that is 4cm deep can be used for seed raising. We recommend using a seed raising tray made of lightweight plastic that provides good drainage, which is important. Fill the container with seed raising mix to 1cm below the top of the container. Level and firm down.
Water the seed tray; this will close up any small cracks in the mix and will prevent the small roots of a geminating seed from drying out once they start growing. Those cracks look small to us, but to a tiny seed they are huge! Now the seeds are ready to be sown. Scatter seed evenly over the surface and cover lightly and evenly with seed raising mix (a kitchen sieve can be handy for this). Once covered, gently firm the surface with a small block of wood or similar and lightly water the seeds with a fine spray watering can or sprayer. Cover the tray with glass, clear plastic, a sheet of paper or place in a plastic shopping bag loosely tied to keep the seeds moist and warm during germination.
By covering the seed tray the moisture will be retained in the mix until the seeds have germinated. Most seeds do not require light to germinate, but all require light once the first leaves have sprouted. When the seed germinates and seedlings have emerged from the soil, uncover and move the tray to a warm, sunny, sheltered position in winter, or semi shady position in summer. Keep the mix moist as seed raising mix can dry out quickly.
Pricking out/transplanting
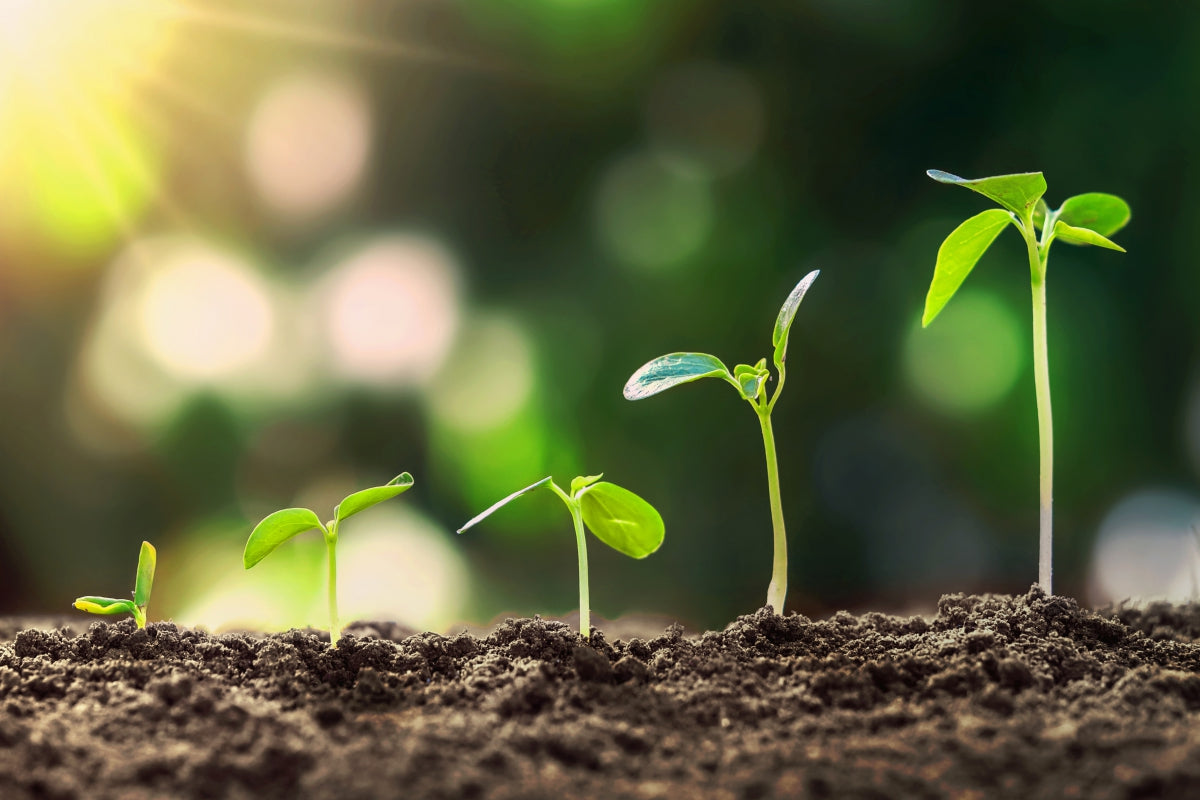
Shortly after germination two juvenile leaves called cotyledons appear. These are the plant’s food source during germination and will eventually shrivel up and disappear. Wait until the seedling produces at least two true leaves – which look very different to the rounded cotyledons – before pricking out or transplanting. Pricking out can be into another container to get the plant established or straight into the garden.
Keep an eye on slugs and snails as they are unforgiving on the little seedlings. Use slug bait such as Tui Quash around young seedlings. Using a pencil or knife, gently dig beneath the seedling and lift it out carefully by the leaves whilst teasing the seedlings roots apart. Make a hole in the soil big enough for the seedling, place seedling in hole and firm soil around it, ensuring not to plant any deeper than what it was in the seed raising tray. Water in well. A cloche or plastic tunnel will help protect the seedlings, allowing them to acclimatise. Alternatively, pot up the seedlings into small containers of potting mix and place plants in a shady sheltered position for 3 – 4 weeks before planting out into the garden.
Palmers handy hint – Apply fertiliser only after transplanting – a soluble or liquid fertiliser mixed to a half strength is best such as Tui Performance Naturals All Purpose Liquid Fertiliser.
Hardening off
Newly raised seedlings are “soft” and therefore need to be “hardened off” before planting into the garden. Hardening off is a process of exposing seedlings, gradually, to varying outdoor temperatures before planting. Place seedlings outside during the day and bring them inside at night and protect them from extreme weather conditions. After a week or two the seedlings will be ready to plant in the garden. The best time to plant seedlings is in the late afternoon when temperatures start to cool down.
Keep seedlings well watered at all times. Annual flower seedlings will take 12 – 15 weeks to flower after sowing. The maturing time for vegetables will vary with variety and time of year and is normally noted on the pack as a guide.

Sowing direct
Seeds can also be sown directly into the garden. It is best to wait for warmer weather or use a cloche to help with cold nights and rainy days. Prepare your garden by thoroughly digging in generous quantities of quality compost or garden mix. Water, level and smooth the soil surface using a rake. If planting in rows make a furrow (small trench) 2-3cm deep depending upon the seed.
Sow the seed to the depth of approximately 2 to 3 times the size of the seed. Firm the soil around the seed. Cover with fine soil (a sieve is useful here). Gently firm down with the rake head and keep seeds moist. When seedlings appear, thin (remove some of the seedlings) to the desired spacing to allow for growing room.
Palmers handy hint – protect emerging seeds with a suitable slug and snail bait like Tui Quash.
Trouble shooting
- Damping off – caused by soil borne fungus. Seedlings can collapse due to poor drainage, lack of ventilation and over watering. Ensure you use a quality seed raising mix.
- Seeds fail to germinate – Seeds may be old or planted too deep. Follow seed packet recommendations.
- Over watering – mix should be damp and not wet.
- Mix is too dry – cover with plastic, glass or cardboard to prevent moisture loss, mist more often with a sprayer.
- Poor germination – old seed – always use fresh seed for best results.
- Poor germination – planting out of season – don’t be tempted to try planting summer seedlings in winter.
- Seedlings disappear overnight – This is due to slugs and snails, make sure you protect seedlings with Tui Quash slug and snail bait or a cloche.
Quick Germination Seeds
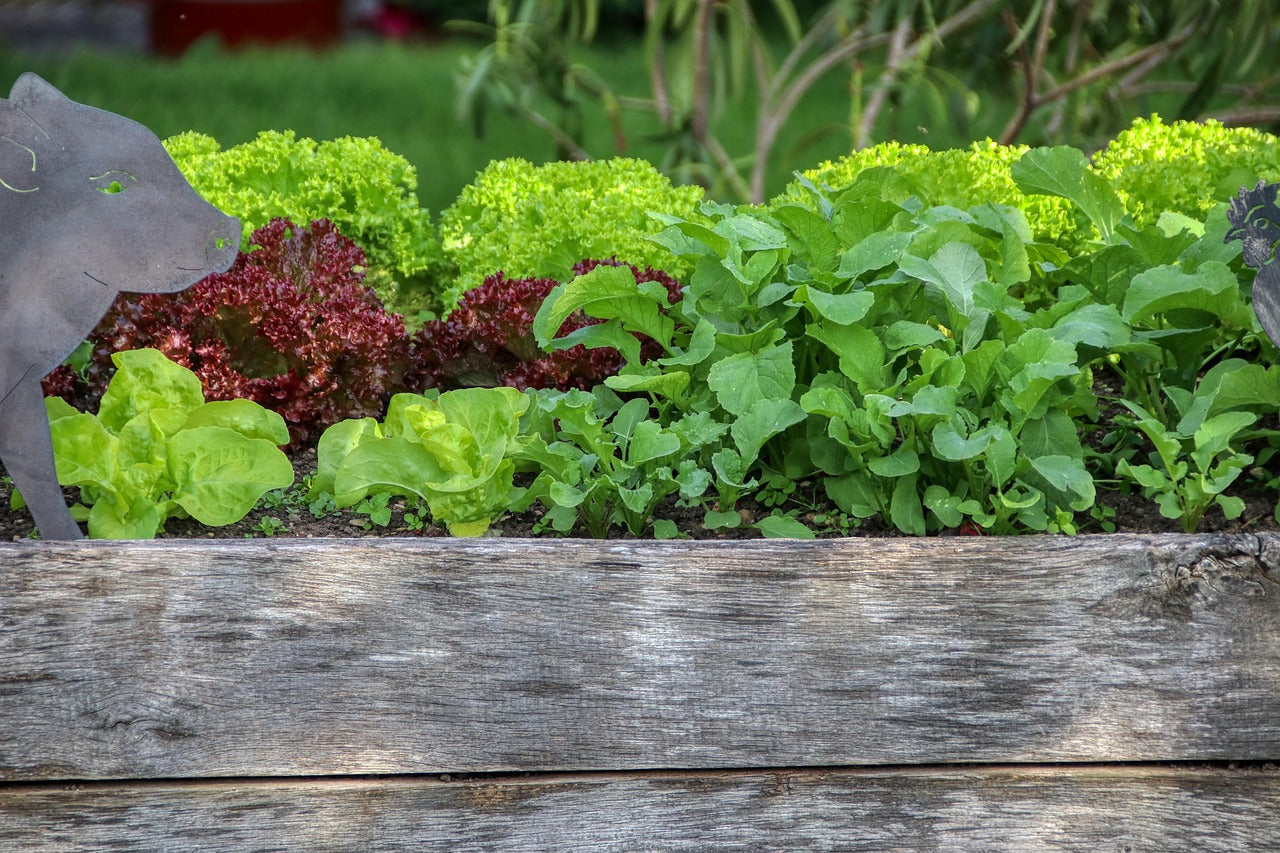
A frequent misconception is that growing from seed requires patience; germination time varies greatly between varieties – starting at just 2 days through to 6 weeks – but most homegrown varieties germinate within just 10 days. Seed packs advise you how long it will take for the seed to germinate, and how long before flowering/harvesting. For the quickest results in veggies, try out Radish, Cress, and leafy greens such as Spinach, and you’ll be harvesting in just 4 weeks!

