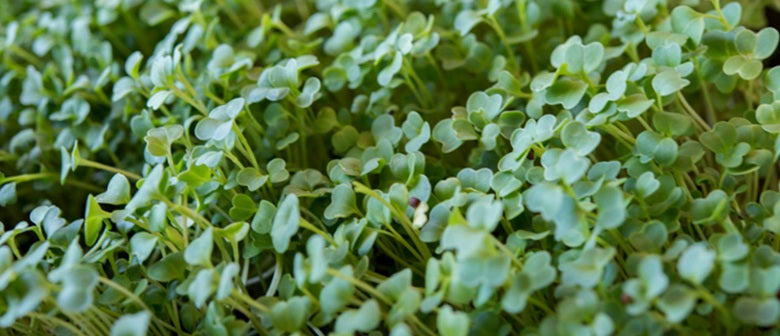
Nutritious and easy to grow, microgreens are a garden goer. When your salad greens are covered in winter frost, microgreens add home-grown colour, texture, flavour, crunch and class to salads, soups, sandwiches, stir-fries, pizzas, pies and dips. They are also very healthy, containing on average, five times the level of vitamins and carotenoids than their mature plant counterparts. Second only to sprouts, microgreens are the quickest food crop that urban gardeners can grow.
If you are limited on time, space, or lack gardening skills, microgreens are the perfect solution as they are cheap and easy to grow, take up little space and are usually ready in 1 – 2 weeks from sowing. Growing microgreens is a simple and straightforward process, we outline the steps below.
Step 1: Prepare your seeds
To help your microgreen seeds germinate quickly, pre-soak larger seeds (i.e. mung beans, beetroot, sunflower, peas or corn) in warm water for a few hours. After pre-soaking, drain and rinse large seeds. For small seeds, you can skip this step.
Step 2: Prepare your container
Choose containers that are shallow, lightweight and portable: plastic food trays, margarine containers, baskets lined with polyethylene or custom-made seed trays all work. Wide, shallow containers which maximise the growing surface are best. Drainage is necessary so punch holes if needed. If using a tray, lay some moistened paper towel or cloth on the bottom to stop the mix falling through. Fill your desired planter about 3/4 full of moist growing medium about 2-3cm deep.
Tip: If you are mixing seed, choose seeds that require similar conditions and germinate in a similar time frame, such as mixed lettuces, kale, broccoli and red cabbage.
Step 3: Sow your seeds
Sprinkle your seeds evenly over the surface of the mix (like you’re grinding pepper onto a meal), and press in lightly. For smaller seeds, you can apply a thin layer of soil or sieved compost over the top so they are all covered.
Lightly water by misting with a spray bottle as this prevents the seeds from dislodging. To create a warm humid environment and keep in moisture for the seeds to germinate, cover the seeds with a wet cloth, paper towels or newspaper, seal in the moisture with clingfilm, glass, or a food cover. Place seeds in a warm place out of direct sunlight, like a hot water cupboard, and check frequently.
Once they have germinated, remove coverings and move into the light. Developing seedlings will need water but don’t over water or leave pots standing in water. With enough water, the soil should look and feel evenly moist.
Step 4: Harvest your shoots
Once germinated, the seeds have used up their internal store of food to grow. So at this point, it is advised that you apply seaweed solution to feed the plants, this improves flavour and boosts nutrition.
Plants are ready to harvest 7-21 days from sowing, most plants will be 2-5cm high. Use sharp scissors to cut the stems just above the soil and wash immediately in cool water before you put them on the plate. Shelf life is short, but if sealed (zip-lock plastic bags are ideal) and refrigerated, they will last several days.
To read Bec Wenzel’s experience with growing microgreens click here

